
Good morning and happy Thursday! Are you loving the new blog design as much as I am? I love the funky pattern and the purple - my favorite color! I'm also loving my new Facebook page - and how easy it is to access it, and other social media pages, through the buttons at the right! Today, for my first post-re-design post, I want to share with you this awesome braided headband that I made.

I found this great tutorial on Pinterest ages ago and it led me to this tutorial at Make It and Love It. I've wanted to make these headbands since October. Yes, since October when I bought my sewing machine. Except to do so I had to actually learn how to use my sewing machine. I tried once, and failed miserably, but this past weekend, I sat down at our dining table, YouTube Videos and sewing machine in hand, and figured it out.

First things first, I had to learn how thread the machine and wind the bobbin, and figure out all sort of other sewing terminology that I had never heard. For awhile, I tried to make sense of what this very nice lady was trying to teach me. Except that her machine looked a little different and when it came to inserting the bobbin, her's came from above not the side, and it was too much for my meager sewing knowledge to handle. After trying to find someone else, anyone else, who might have my machine, I finally got smart, took out the Singer Tradition CD that it came with, and finally learned what to do.


Learning to thread this sewing machine was liberating (Susan B. Anthony just turned over in her grave) and I was beyond thrilled to have finally figure it out. Nash was really excited for me too.

Ok, mostly he just got freaked out every time I pressed on the pedal, but still, he stuck by me while I figured out how to use the machine. Then it was time to actually start the project. For materials, I grabbed 2 stretchy cotton t-shirts (I could have just used one, but I wanted the contrasting colors) and a pair of scissors. I picked up the t-shirts at Hobby Lobby for about $2 a piece since I didn't want to cut apart any t-shirts that I already owned. And I already had the thread in the machine, so I didn't need anything else.


I cut strips from the t-shirt at approximately a 1-inch width.


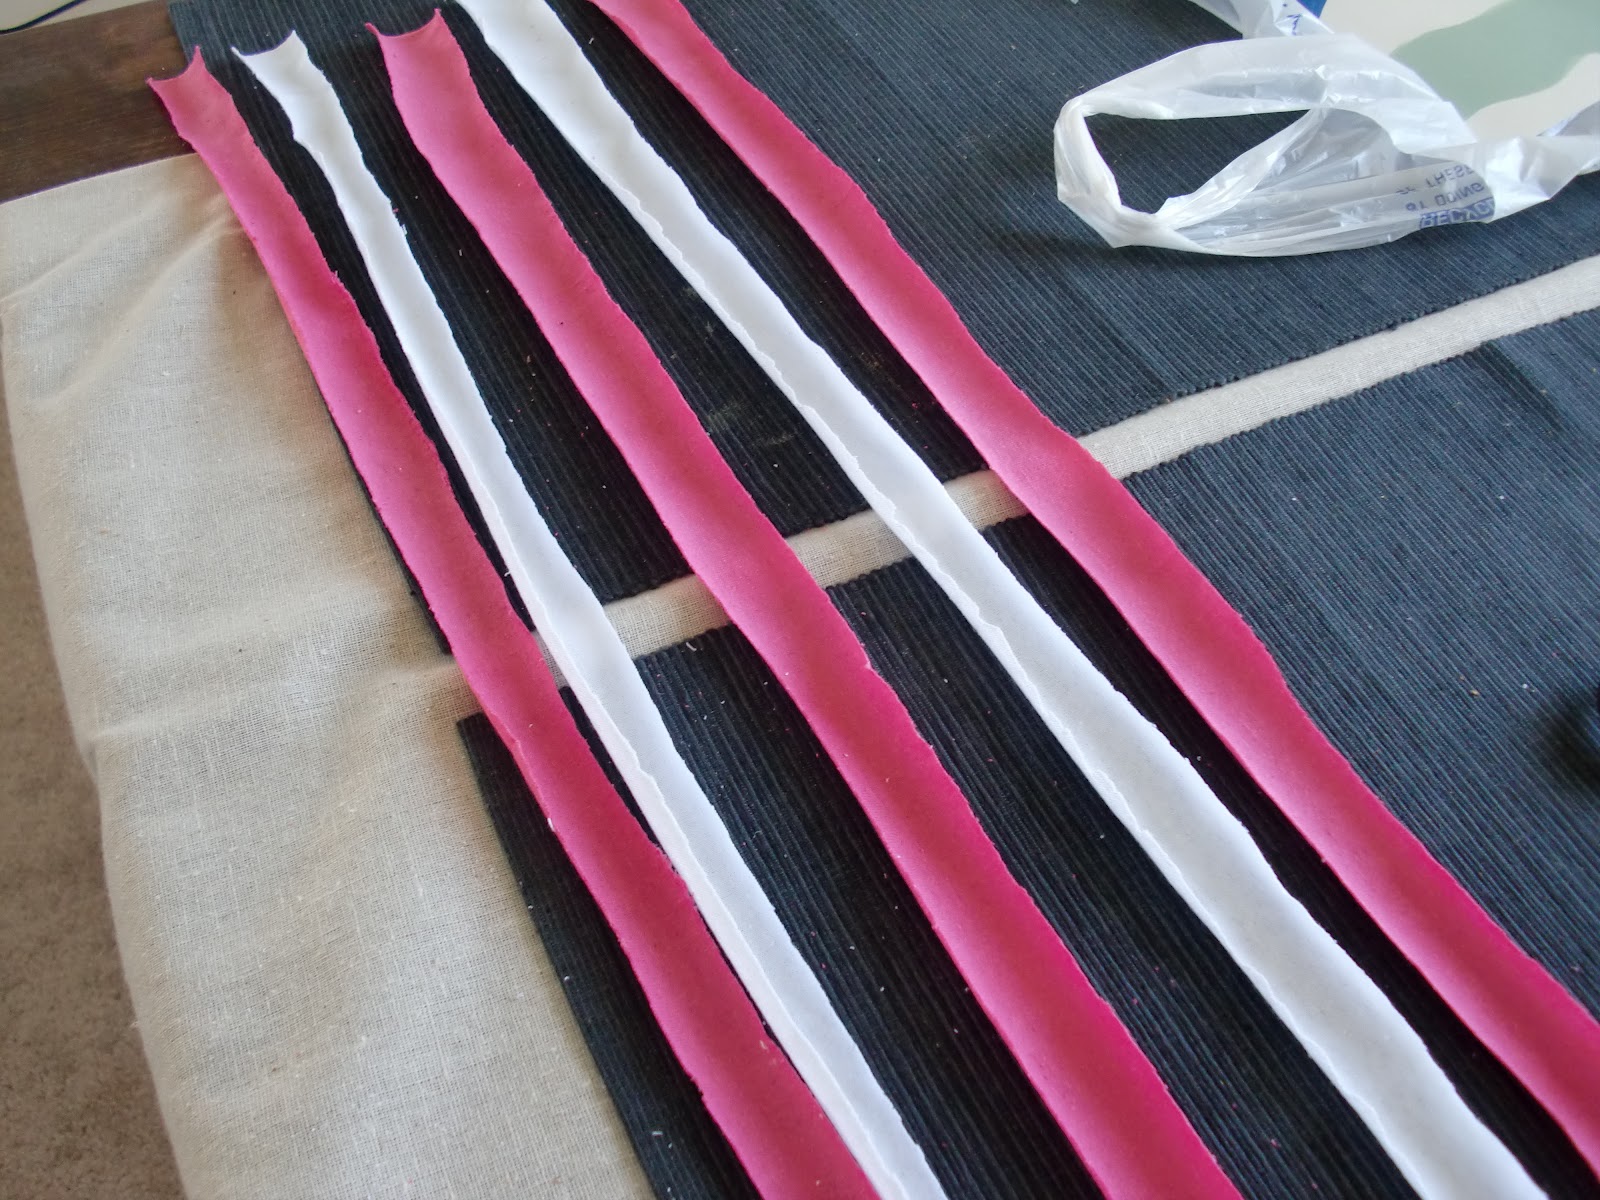
I laid my five strips next to each other and then on top of each other so that I could sew all 5 pieces together. The Make It and Love It tutorial advised that you could also super glue it, but learning to use my sewing machine was much more important. And I think it will last longer.


Then, it's time to start braiding. I tucked the sewn end of my headband under the sewing machine to keep it stable and, following the tutorial, I braided the headband, separating it into 3 and 2, alternating and braiding it as I went.


Before long, I had braided the entire headband, and also littered all of the placemats with bits of t-shirt. I brought the final ends together and sewed across them to keep them in place.

Then I looped into a circle like a headband, measured it around my head to decide on length and sewed over it again to keep it in place. Then, I trimmed off the excess fabric left at the ends.


And then, voila!, you're done!

I'm so happy with the way this turned out - it's the perfect gym sweat accessory. I also have shirts in blue and green that I'm going to sew up to use as well. The tutorial that I used also suggested putting another piece of fabric in place over the ends, but I only plan on using this for the gym, so I didn't feel like I needed to do that.
Have you made anything with your sewing machine lately? Also a sewing machine newbie? I'd love to hear about it!


0 comments:
Post a Comment