Good Morning! I rushed to finish this project before we left on our road trip, and wanted to show it to you last week, but since that sort of didn't happen, I want to show it to you right away this morning.
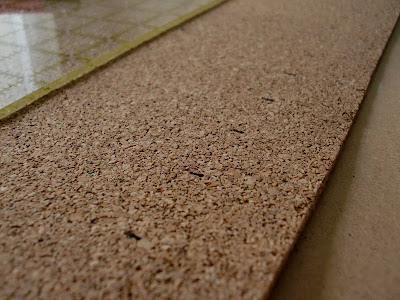
Unfortunately, when I went to IKEA, I learned that they were out of the tray used in the original tutorial. So instead, I got a different tray and I have to say, I really like the contrast of the metal and cork. In order to make this, you'll only need a few supplies: tray, corkboard roll, ruler, pen, hot glue gun and an x-acto knife (last two not pictured).
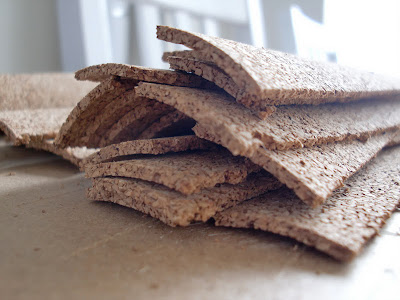
First, unroll your corkboard and mark the places where you're going to cut using your ruler and pen. I marked at every inch so that each piece of cork would be 1 inch thick. Although I marked the cuts beforehand, I ended up just using the ruler as a guide as I went along.
I created 2 piles of 15 strips each to weave through each other.
The next step is a little more difficult and requires a little bit of patience. Carefully weave the 30 strips of corkboard together into a grid. At first, it will be a little loose, but after you've completed the grid, you will go back and tighten it.
If you're not careful, you might break a strip. This happened to me a couple of times, but fortunately I was able to mend it by tucking it underneath another strip or using a little bit of glue.
After it's all placed in the grid and tightened, it will look like this:
Then, I used the bottom of the tray to trace a circle into the middle of the corkboard grid. Using your X-acto knife, cut along the traced line. Then, slowly remove the cork circle from the remainder of the grid. Do this carefully to ensure that the circle will not break apart.
 |
| Blurry and still unglued... |
After all of the edges have been glued down, your brand new corkboard tray is ready for use! I placed mine on my nightstand to hold my tissues, an angel candle holder, one of my favorite pictures of Josh and, at night, my watch.
PS. It's Pinterest Challenge time again and I'm gearing up for an awesome project that I'm going to show you on Wednesday. Will you be participating in the challenge?
PPS. I'm linking up to parties at It's a Blog Party, DIY Home Sweet Home and DIY Showoff.


You did such a good job!! This looks awesome and adds some texture and warmth to the silver tray :)
ReplyDeleteLove this tray! So cute! I love the texture the cork and basket weave create!!
ReplyDelete