Do you know what I was really tired of looking at? And I mean, really tired of? Our table, without any chairs. And so, this weekend, I finally, finally, finished re-upholstering the seats.
Every time I walked into the office/den space, this was staring at me...
And I was also really tired of looking at that. Really, really tired of it. But here's the thing. Lately, any time I had to paint it was either raining or dark out and all of the times when I didn't have time to paint, it was a beautiful day. Clearly the DIY Gods were against my finishing this project. But I decided that I would not let that deter me! And so, a couple of weekends ago, I set to work completing the first step in tackling these chairs - re-upholstering the seats.
I showed you here that I had removed the disgusting old vinyl from the chairs and so now I was left with this pile of seats. I could have replaced the filling and the foam, but I really didn't have the time or the energy and the seats are comfortable enough, so I decided to leave it as is.
First, I washed the fabric. I have since learned (thanks to Liz's mom!) that this step was unnecessary because the only reason you wash fabric in the first place is to pre-treat/pre-shrink/pre-whatever it and since I'm attaching this fabric with a staple gun, it probably isn't getting thrown in the wash again anytime soon. Oh well, now it's been washed.
Next step - ironing the fabric! This would have been done regardless of washing, so this step didn't waste any more time.
Then, the fun part, scaring the crud out of yourself and your dog (and possibly your lovely boyfriend), by using the staple gun (which you've never actually done before) to attach the fabric to the seats. Wahoo!
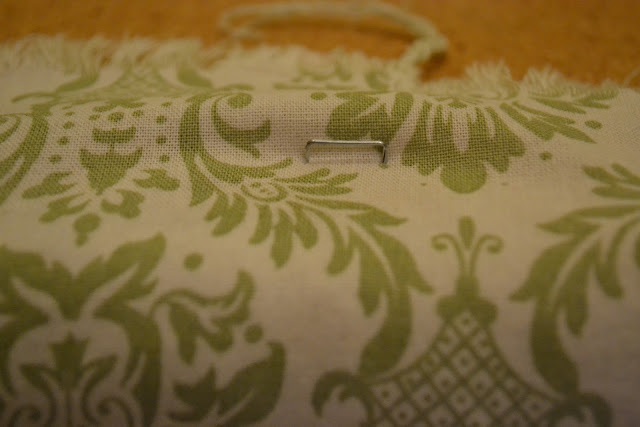
Except that I bought a "light duty" staple gun and learned, the hard way, that not all staple guns are created equal.
Seriously? Who wants raised staples in their re-upholstered seat? Not me. So after waiting a couple of weeks, I trekked back to Lowe's and bought a new staple gun - a heavy duty one! And then I got to work again.
I started by pulling the fabric taut, stapling it on one side, and then the other, then reviewing the other side to make sure my fabric was straight, and then continuing to staple side to side until the entire stapling process was completed.
I started by pulling the fabric taut, stapling it on one side, and then the other, then reviewing the other side to make sure my fabric was straight, and then continuing to staple side to side until the entire stapling process was completed.
While kind of noisy and way more energy consuming than I thought it would be (seriously, using a staple gun is hard work), this part was definitely a lot of fun. Altogether this part of the process took less than 45 minutes and then the chairs were ready to be scotchguarded! I took the seats outside to our balcony, laid them on top of a canvas drop cloth, and scotchguarded them - 2 light coats, with drying time in between.
And then I brought them back in side and reattached them to the chairs.
Wait, you might be saying, but what about painting the chairs?
Um, about that... I didn't do it. That's right, I went rogue. The weather has not been my friend. Living above people with children who run around and scream during the day when I might spray paint has not been my friend. And so, until at least the Spring, these chairs will remain this ugly greige shade that really does nothing for the fun fabric I picked out for the seats, but at least we have seats. Yay!
I could not be more excited to finally have this crossed off of my to-do list! They aren't perfect, by any means, but for my first upholstering attempt, I'm definitely one happy blogger. :) And, since we sold our kitchen table over a month ago and have not had chairs since, this project completion allows us to finally eat at our new kitchen table!
What's the longest it has ever taken you to finish a seemingly simple project? Am I the only one terrified by the staple gun? Hopefully, over time, more projects will rid me of this fear!


Oh my god anything that involves a staple gun scares the living daylights out of me!
ReplyDeleteCongrats on your first upholstering project! They look great!
ReplyDelete